How to crochet a pumpkin:
The easy pattern
Ribbed pumpkins made from a single rectangle – no rounds and no increases. Done in one evening, in three sizes for your fall decor.
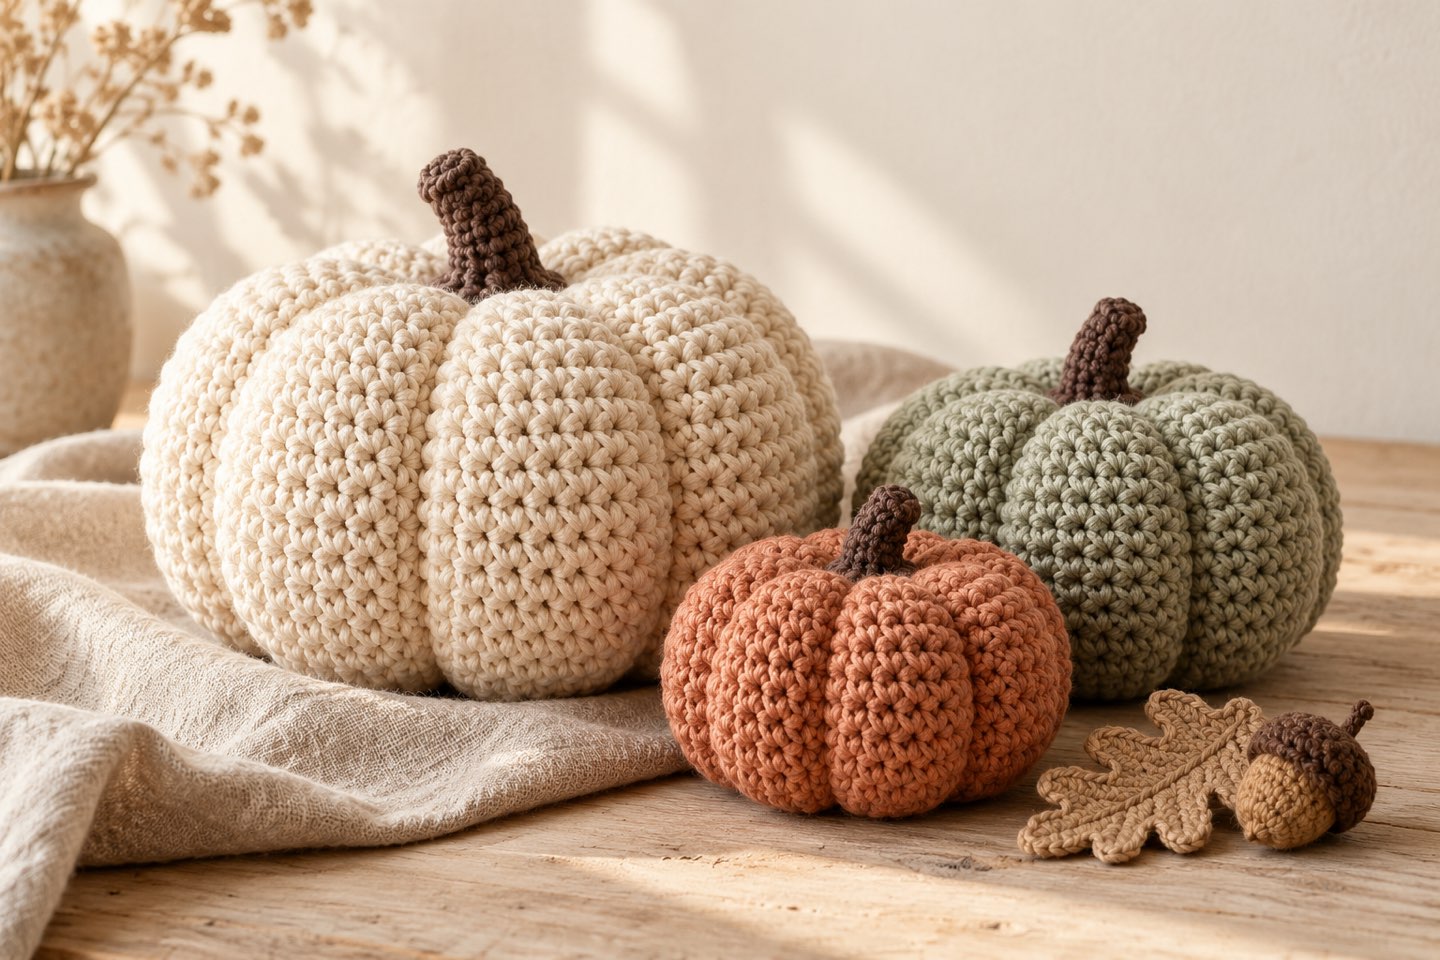
How the pumpkin comes together
The secret of these pumpkins: you don't crochet a ball, but a flat rectangle of single crochet worked in the back loop only. This creates the typical ribs all by itself. You close the rectangle into a tube, gather both ends, stuff it – and cinch the pumpkin segments with a piece of yarn.
Because you only work in rows and never have to count increases or decreases, this is the perfect first project after learning the basic stitches. If “single crochet” or “back loop only” don't mean anything to you yet, take a quick look at the Crochet Basics first. This pattern uses US crochet terms.
Materials & abbreviations
What you need
- Cotton or cotton blend yarn (approx. 80–100 m/50 g) in orange, cream or sage green – approx. 20 g (small), 35 g (medium) or 60 g (large)
- A small amount of brown for the stem
- 4.0 mm crochet hook
- Fiberfill
- Tapestry needle with a large eye
- Scissors
- Optional: green scraps for a vine and leaf
Abbreviations used (US terms)
| ch | Chain |
| sc | Single crochet |
| BLO | Back loop only |
| sl st | Slip stitch |
| MR | Magic ring |
| R | Row / round |
| (x sts) | Stitch count at the end of the row |
The three sizes
| Size | Foundation | Stitches per row | Rows |
|---|---|---|---|
| Small (approx. 8 cm) | ch 16 | 15 sc | 30 |
| Medium (approx. 11 cm) | ch 21 | 20 sc | 40 |
| Large (approx. 15 cm) | ch 31 | 30 sc | 56 |
The pattern below always gives the numbers in the order small / medium / large. The final size depends on your yarn and tension – the centimeters are a guide.
Step by step
1. The ribbed rectangle
in orange, cream or sage
- FoundationCh 16 / 21 / 31.
- R 1Starting in the 2nd ch from the hook, work 1 sc in each ch. (15 / 20 / 30 sts)
- R 2Ch 1, turn. Work 1 sc BLO in each st. (15 / 20 / 30 sts)
- R 3–30 / 40 / 56Repeat row 2 until you have 30 / 40 / 56 rows in total.
The turning chain doesn't count as a stitch – work the first sc of each row into the first stitch. Count every now and then: if the stitch count stays the same, your ribs will be nice and straight.
2. Close into a tube
continue directly
- FoldDon't cut the yarn. Fold the rectangle so the last row lies exactly on top of the foundation chain.
- JoinWork 1 sl st into each st through both layers – the last row and the foundation chain.
- FinishCut the yarn, leaving a tail of approx. 40 cm, and pull it through. Turn the tube inside out so the seam is on the inside.
The ribs now run from top to bottom – just like on a real pumpkin.
3. Gather & stuff
with the tapestry needle
- BottomThread the long tail onto the tapestry needle and sew a running stitch once around through the row ends of one open side. Pull tight so the opening closes, and knot.
- StuffStuff the pumpkin with fiberfill through the second opening – evenly, but not too firmly.
- TopRun a new piece of yarn (approx. 40 cm) through the row ends of the second side the same way, pull tight and knot securely. Don't cut the ends – you'll need them for cinching in a moment.
4. Cinch the segments
5 / 6 / 8 indents
- InsertWith one yarn end, insert the needle straight down through the center from the top to the bottom.
- WrapBring the yarn back up along the outside of the pumpkin and insert it down through the center again.
- PullPull gently – this creates the first indent.
- RepeatWrap the yarn around the outside again, shifted a little each time, until you have 5 / 6 / 8 evenly spaced indents.
- FinishKnot the yarn several times at the top and weave the end in on the inside.
Place the yarn in one of the rib grooves each time – that way it disappears almost invisibly into the fabric.
5. The stem
in brown
- Rnd 16 sc into the MR. (6 sts)
- Rnd 2–4 / 5 / 61 sc in each st, continuing in a spiral. (6 sts)
- FinishEnd with 1 sl st, cut the yarn leaving a tail of approx. 20 cm.
Place the unstuffed stem in the center of the top indent and sew it on all the way around with the tail.
Optional: vine & leaf
in green
A little vine or a leaf next to the stem makes your pumpkin even prettier. You'll find the matching patterns on the Flowers & Leaves page: the corkscrew vine (with approx. ch 15) and the leaf with stem. Simply sew both on next to the stem.
My tips for you
Don't overstuff
A pumpkin that's stuffed too firmly is hard to cinch. Use a little less stuffing – the indents will be deeper and prettier.
Decorate in groups
Three pumpkins in different sizes and colors – for example orange, cream and sage green – look much lovelier together than a single one.
Velvety with chenille
The same pattern works with chenille yarn. Use the hook size on the yarn label and a few rows less, as the yarn is thicker.